
Mastering extraction timing in Arc Raiders is a distinct progression path, separate from pure combat skill. It emphasizes careful judgment, risk assessment, and knowing when to consolidate gains rather than pushing for every last piece of loot. For players aiming to consistently exit the Exclusion Zone with valuable cargo, understanding optimal extraction timing forms a reliable and repeatable framework for long-term profit and survival.

This guide examines how to approach extraction efficiency, focusing on identifying the right moment to leave, adapting to dynamic threats, choosing strategic extraction points, and executing a successful getaway, ensuring you leave rich rather than losing everything with a full bag.
Understanding the Criticality of Extraction
Extraction is the ultimate objective in Arc Raiders. All the successful raids, enemy eliminations, and valuable loot mean nothing if you fail to extract. Unlike other game phases, extraction introduces a unique pressure point: a countdown timer, increased enemy AI density, and the heightened probability of encountering other player teams also heading for the same exit. It’s a deterministic event that rewards players who plan ahead and execute precisely.
The structure of extraction phases encourages efficiency through disciplined decision-making. Mastery is achieved by minimizing unnecessary risk during the final moments, maximizing the chance to secure gathered loot, and turning a potentially chaotic exit into a predictable success.
The Extraction Dilemma: When to Go, When to Stay
The core challenge of extraction timing is balancing greed with safety. Leaving too early means missing out on potential profits, but staying too long risks losing everything. Successful players navigate this dilemma by establishing clear mental triggers for extraction.
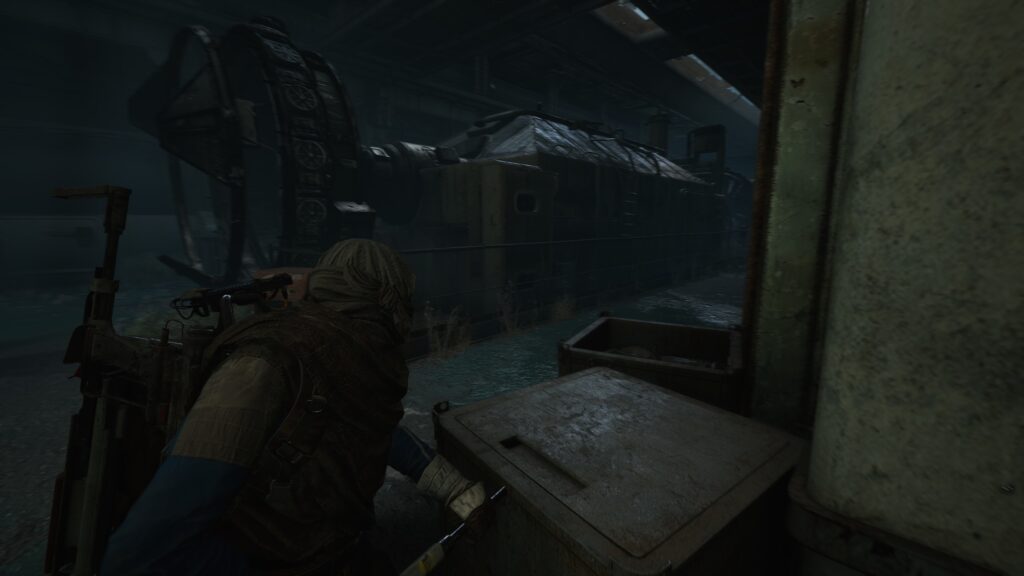
These triggers are often dynamic and depend on several factors:
- Loot Value Threshold: Have you collected enough valuable items (e.g., specific rare components, a certain monetary value) to make the run worthwhile? If so, consider leaving.
- Inventory Fullness: If your inventory is completely full of high-value items, the marginal gain from staying longer is minimal compared to the risk of losing it all.
- Current Health and Resources: Are you low on health, armor, or critical ammo? Are your healing items depleted? These are strong indicators to extract.
- Enemy Activity: Is there a significant increase in enemy AI patrols, particularly stronger units like Heavies or Titans? Are you hearing or seeing other player teams engaging nearby? Increased threat means increased risk.
- Objective Completion: Have you completed your primary mission objectives? If the main goal is done, further lingering might be unnecessary.
- Timer Awareness: As the overall match timer dwindles, the pressure to extract intensifies, and remaining extraction points become more contested.
The goal is to always extract slightly before you “have” to, rather than waiting until you are forced into a desperate, high-risk getaway.
Strategic Extraction Point Selection and Approach
Choosing the right extraction point and knowing how to approach it is as crucial as deciding when to leave. Not all extraction zones are created equal.
- Proximity vs. Safety: Consider extraction points that are relatively close but also offer good cover and limited lines of sight for approaching enemies. An exposed, central extraction might be faster but far more dangerous.
- Pre-Scouting: Always check the area around your chosen extraction point. Use binoculars, scopes, or even a recon drone to confirm it’s clear of AI and other players before calling in your ship.
- Clearing the Zone: Before activating the extraction, methodically clear out any nearby AI. You want to be fighting minimal threats, if any, during the critical boarding phase.
- Defensive Positioning: Once the extraction ship is called, find a defensible position with good cover and clear sightlines to the ship’s landing zone. Anticipate where enemies (AI or players) will approach from and position yourself to intercept.
- Baiting and Waiting: If you suspect another team is camping an extraction point, you might try to bait them out. Fire a few shots, then reposition. Or, find an alternative extraction point if available. Patience can be key.
- The “Hot” Extraction: Sometimes, you have no choice but a contested extraction. In these scenarios, speed and coordinated suppression (if in a team) are vital. Focus fire on immediate threats and get to the ship as quickly as possible.
Always have a backup extraction plan in mind if your primary choice becomes too dangerous.
Executing the Getaway: Calm Under Pressure
The moment the extraction ship arrives is when panic can set in, leading to mistakes. Maintaining “combat calm” is essential during this final phase.
- Board Promptly: Once the ship lands, prioritize getting onto it. Do not linger for a final kill or last-second loot. Your objective is to extract.
- Cover Your Teammates: If in a squad, ensure everyone boards safely. Provide covering fire for teammates who are exposed while boarding.
- Watch the Ramp: Until the ship doors close and you are safely lifted, keep an eye on the entrance ramp and the surrounding area. Last-second enemy pushes or grenades are common.
- Resource Management: Use any remaining armor plates or healing items before boarding if you’ve taken damage, ensuring you’re ready for any final threats.

A smooth, uneventful extraction is always the best extraction.
Conclusion: Extraction Timing as the Apex of Strategy
Mastering extraction timing in Arc Raiders rewards consistency, astute risk assessment, and decisive action. By establishing clear loot thresholds, understanding threat levels, selecting optimal extraction points, and executing a calm getaway, players can transform potentially chaotic endgame moments into stable, profitable conclusions to their runs.
When integrated into a broader routine, refined extraction timing becomes less of a gamble and more of a strategic certainty. It’s the ultimate skill that ensures your hard-earned gains are secured, allowing you to leave the Exclusion Zone rich instead of dying with a full bag, run after run.





Leave a Reply